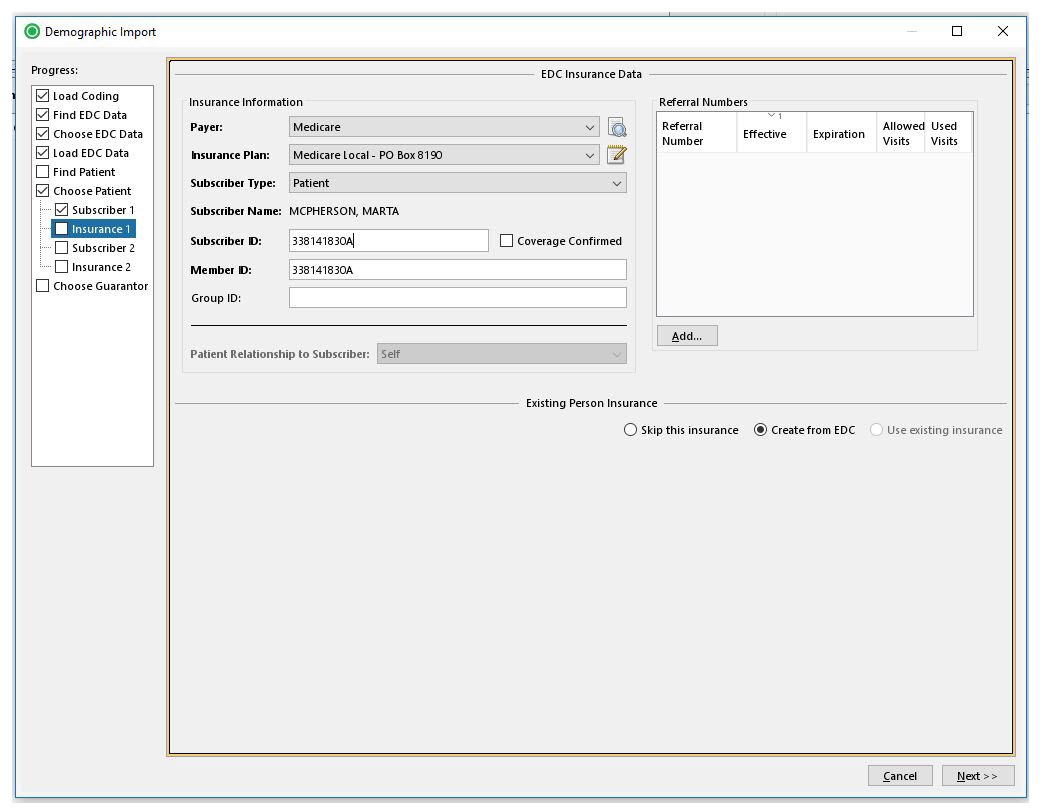
Overview
The EDC Files tab includes EDC files imported into Connect Back Office via the EDC File Import process or Connect Mobile Assistant. It is used to create cases for a charge batch created directly from an EDC.

Field Definitions
Field | Type | Required | Description |
|---|---|---|---|
| EDC Files Section | |||
| File ID | Display Only (pulled from EDC File) | Yes | The unique identification number for the EDC file. |
| Name | Display Only (pulled from EDC File) | Yes | The name of the EDC file. |
| Staging Charges Section | A listing of charges affiliated with the EDC file. | ||
| Facility | Display Only (pulled from EDC File) | Yes | The healthcare facility where services were rendered. |
| Patient Name | Display Only (pulled from EDC File) | Yes | The name of the patient. |
| Date of Service | Display Only (pulled from EDC File) | Yes | The date that services were rendered. |
| Case ID | Display Only (pulled from EDC File) | Yes | The unique identification number that identifies the case. |
| Facility Case Number | Display Only (pulled from EDC File) | No | The case number issued by the facility, i.e., Medical Record Number. |
Button Descriptions
Button | Shortcut Keys | Description | Step-By-Step Guides |
|---|---|---|---|
| Link Charges | [Alt] + [N] | To link an unlinked charge to the charge batch. |
|
| Unlink Charge | [Alt] + [K] | To unlink a previously linked charge from the charge batch. |
|
| Create Case | [Alt] + [C] | To create a case from a charge in the EDC file. |
|
| Create bulk Cases | [Alt] + [R] | To create cases from charges in the EDC file. |
Only 40 cases are created via the bulk creation process at a time. Repeat the above steps until all cases are created. The button will be disabled when all cases have been created. If any line items are still missing a Case ID after this process, there is missing information that needs to be populated before the case can be generated. |