Overview
The Image Batches tab is used to manage image batches for the charge batch.

Field Definitions
Field | Type | Required | Description |
|---|---|---|---|
| Image Batches Section | |||
| Batch | Display Only (pulled from the Image Batch) | Yes | The unique identification number of the image batch. This batch identification number is automatically assigned when the image batch is created. |
| Description | Display Only (pulled from the Image Batch) | No | Description of the image batch, specified in the Image Batch Information window. |
| Facility | Display Only (pulled from the Image Batch) | No | The name of the facility if one was specified when the image batch was created. If the facility was not specified, the column is blank. This column is specific to charge batch images and is blank for payment batches. |
| DOS | Display Only (pulled from the Image Batch) | No | The date of service if one was specified when the image batch was created. If the date of service was not specified, the column is blank. This column is specific to charge batch images and is blank for payment batches. |
| Sets | Display Only (pulled from the Image Batch) | Yes | The number of image sets in the image batch. Image sets are added to the image batch when the image batch is originally created. You can add image sets to an image batch through the Image Viewer page, if necessary. Each set contains the images related to a particular case or payment. |
| Image Sets Section | |||
| ID | Read-only (system-generated) | Yes | The ID number of the image set, specified in the Scan Batch window. |
| Case | Read-only (system-generated) | No | The case to which the set is attached. If the set is not attached to case, this column is blank. |
| Tags | Display Only (pulled from the Image Batch) | No | One-word or short-phrase terms assigned to the image set to easily identify the set. |
| Coding Status | Display Only (pulled from the Coding Form) | Yes | Indicates whether the image set has been used to code a related case. |
| Note | Display Only (pulled from the Coding Form or Case) | No | Text entered in the Note field on the Coding (Set XXX) form. |
| Account ID | Read-only (system-generated) | No | The Account number to which the image set is linked. |
Button Descriptions
Button | Shortcut Keys | Description | Step-By-Step Guides |
|---|---|---|---|
| Link | [Alt] + [I] | To attach an image batch to the charge batch. |
|
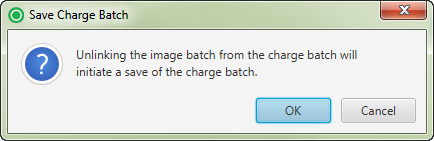
| Unlink | [Alt] + [U] | To remove the linked image sets from the charge batch. |
|
| Create Case | [Alt] + [C] | To attach the image set to a particular case. | Creating Cases |