Overview
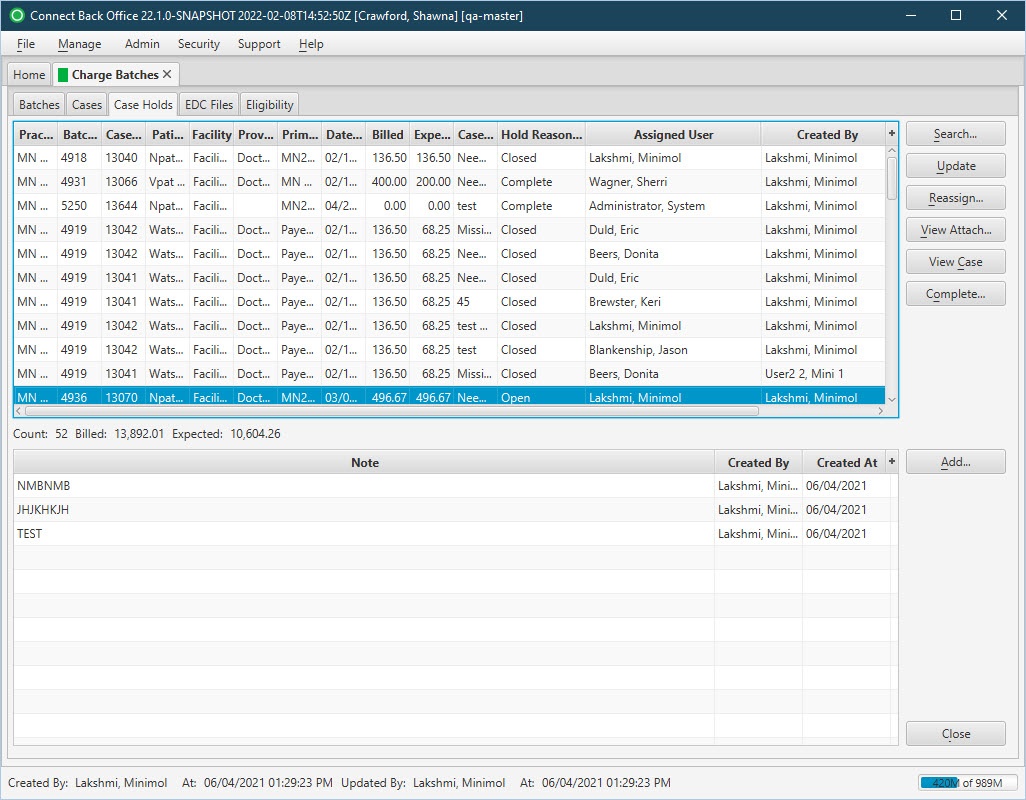
The Case Holds tab is used to manage (view, update) and complete Case Holds.
Field Definitions
Field | Type | Required | Description |
|---|---|---|---|
| Practice | Display Only (pulled from created/updated Case) | Yes | The practice associated with the charge batch. |
| Batch ID | Display Only (pulled from created/updated Case) | Yes | The unique identification number of the charge batch assigned when it is created. By default, the table is sorted by this column in ascending order. |
| Case ID | Display Only (pulled from created/updated Case) | Yes | The identification number of the case. |
| Patient | Display Only (pulled from created/updated Case) | Yes | The name of the patient who received treatment on the case. |
| Facility | Display Only (pulled from created/updated Case) | Yes | The facility where the patient was treated. |
| Provider | Display Only (pulled from created/updated Case) | No | The rendering physician on the case. |
| Primary Payer/Plan | Display Only (pulled from created/updated Case) | Yes | The name of the payer and plan specified on the case at the Patient, Guarantor, & Insurance tab. |
| Date of Service | Display Only (pulled from created/updated Case) | Yes | The date the service was rendered on the case. |
| Billed | Display Only (pulled from created/updated Case) | Yes | The amount to be billed for the case. |
| Expected | Display Only (pulled from created/updated Case) | Yes | The amount expected for reimbursement on the case. |
| Case Hold Reason | Display Only (pulled from created/updated Case Hold) | Yes | Designation or reason for the Case Hold. The drop down list of options are based on Case Hold Reasons created and associated with the Practice on the Case Hold Reasons page. |
| Hold Reason Status | Display Only (pulled from created/updated Case Hold) | Yes | The current status of the Claim Hold. The options include: Open and Complete. The Hold Reason Status is automatically changed to Closed once the case is submitted. No additional changes can be made to the Case Hold at this point. |
| Assigned User | Display Only (pulled from created/updated Case Hold) | Yes | Users to which the Case Hold is assigned. List of options are users associated with the Practice. |
| Created By | Read-only (system generated) | Yes | The date/time when the case hold was created. |
| Notes Section | |||
| Note | Display Only (pulled from created/updated Case Hold Note) | No | Any notes or pertinent information tied to the Case Hold. Multiple notes can be added to the Case Hold. |
| Created By | Read-only (system generated) | Yes | The user that created the case hold note. |
| Created At | Read-only (system generated) | Yes | The date/time when the case hold note was created. |
Button Descriptions
Button | Shortcut Keys | Description | Step-By-Step Guides |
|---|---|---|---|
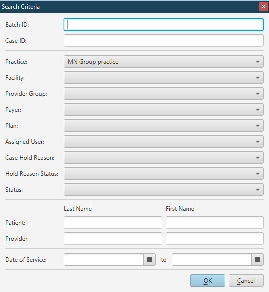
| Search | [Alt] + [S] | To find a case hold. |
|
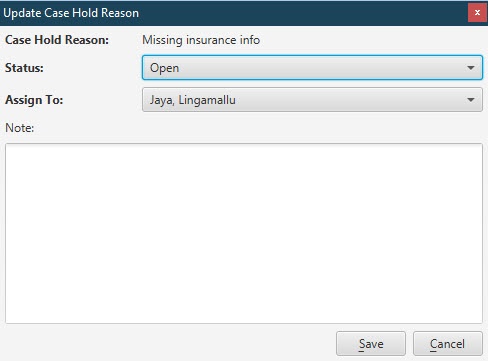
| Update | [Alt] + [U] | To modify a Case Hold Reason or user assignment. |
|
| Reassign | [Alt] + [R] | To reassign a Case Hold. |
|
| View Attach | [Alt] + [V] | To view an attachment. |
|
| View Case | [Alt] + [C] | To view the associated case. |
|
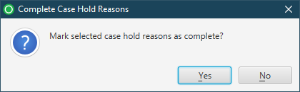
| Complete | [Alt] + [O] | To mark a Case Hold complete. |
|
| Add | [Alt] + [A] | To add a note to a Case Hold. |
|