Overview
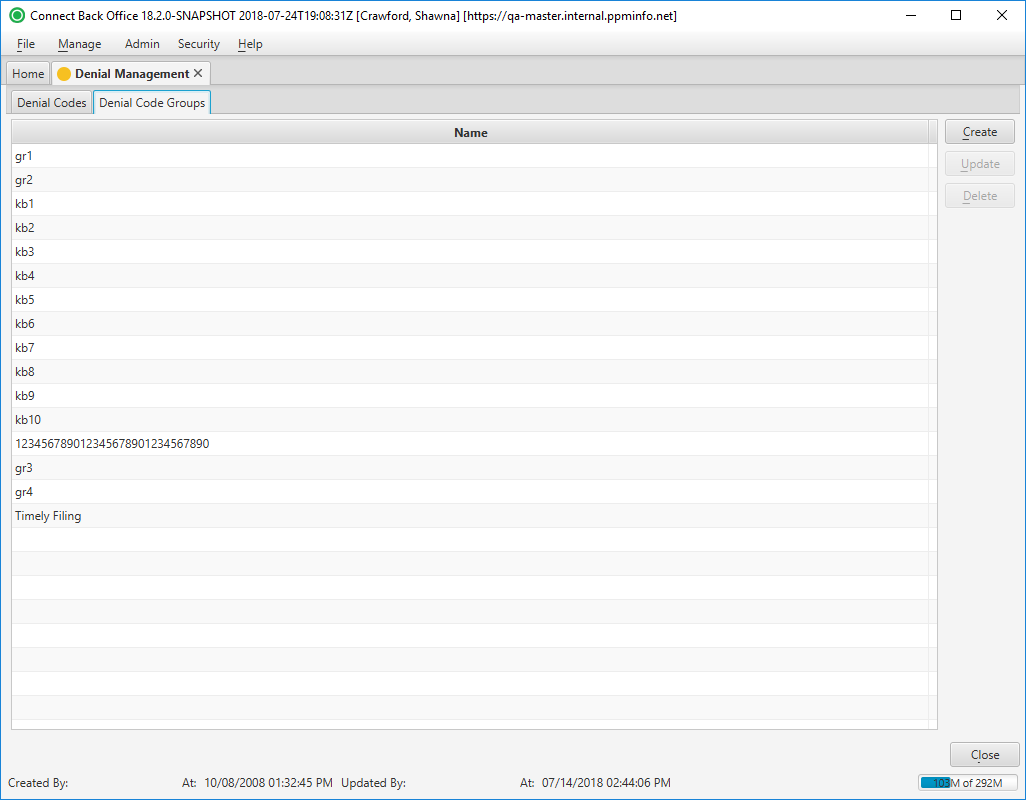
The Denial Management page contains two tabs:
The Denial Codes tab lists the adjustment and denial rules that are applied to group and reason codes used in Connect Back Office. The user rules are added to this page through the Denial Code page.
The Denial Code Groups tab lists the code groupings as set up and defined by the user in tying together two or more denial codes, for ease of selection and application on payments.
Field Definitions
Field | Type | Required | Description |
|---|---|---|---|
| Name | Display Only (Pulled from created/updated Denial Code Group.) | Yes | The name assigned to the denial code grouping. |
Button Descriptions
Button | Shortcut Keys | Description | Step-By-Step Guides |
|---|---|---|---|
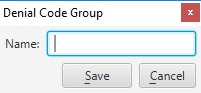
| Create | [Alt] + [C] | Opens the Denial Code Group window where you can enter a new group name. |
|
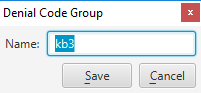
| Update | [Alt] + [U] | Opens the Denial Code Group window where you can modify the name of an existing denial group. |
|
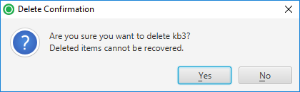
| Delete | [Alt] + [D] | Deletes a denial code group from the list. |
|