| Print Option | Description |
|---|---|
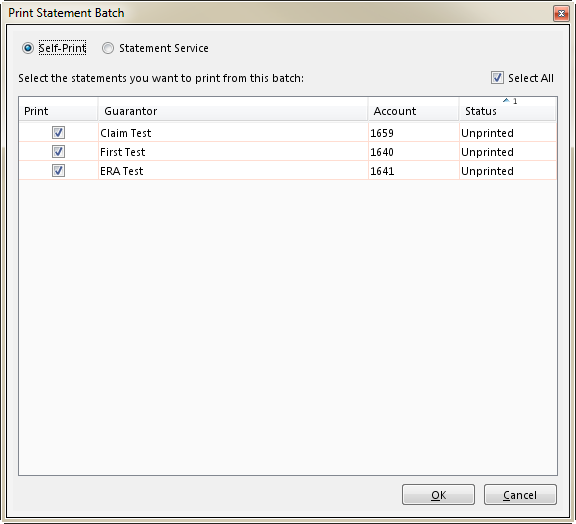
| This option is used to print statements at your practice. Your Connect platform must be configured specifically for a statement service, which is done by Cognizant as a custom setup. If your Connect platform is not configured for a statement service, this option is not available on the Print Statement Batch window. By default, this option is selected. |
| This option is used to send statements to a statement service. Your Connect platform must be configured specifically for a statement service, which is done by Cognizant as a custom setup. If your Connect platform is not configured for a statement service, this option is not available on the Print Statement Batch window. By default, this option is not selected. The specified statements are queued to a file and sent to the statement service electronically by the Connect platform. |
Step-By-Step Guide
Step | Instructions | Additional Information |
|---|---|---|
| 1 | From the Statement Batches page, search for and select the statement batch that contains the statements to print or reprint. | |
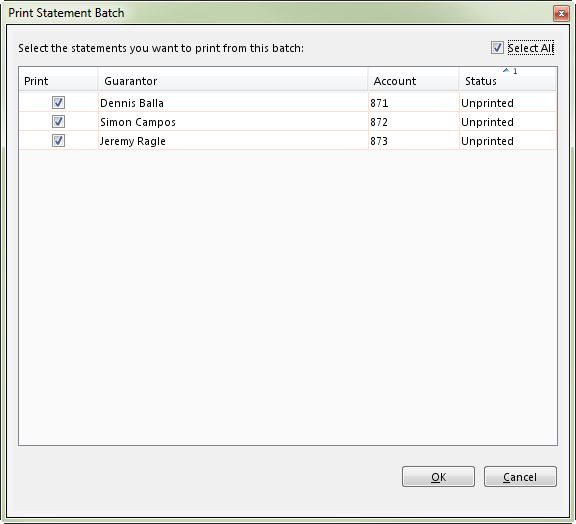
| 2 | Click Print. The Print Statement Batch window opens.
| |
| 3 | Do one of the following:
| |
| 4 | In the Print column, verify that the statements to print or submit to the statement service are selected. | By default, all statements that have an Unprinted status are automatically selected. Clear the Select All checkbox to exclude all statements from printing, then select only the statements to print or submit to the statement service. To exclude individual statements, clear the checkbox for the statement in the Print column. |
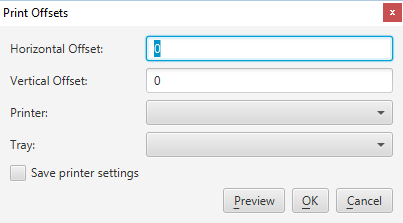
| 5 | After making your selections, click OK. The Print Offsets window opens.
| |
| 6 | (Optional) Enter the Horizontal Offset and/or the Vertical Offset values. | The Horizontal Offset determines the horizontal position of characters either right (plus) or left (minus). The default value is set on the Preferences: Statement Batch page. The Vertical Offset determines the vertical position of pixels either down (plus) or up (minus). The default value is set on the Preferences: Statement Batch page. |
| 7 | Open the Printer drop down list and select the correct printer. | |
| 8 | (Optional) Open the Tray drop down list and select the correct tray to use from the selected printer. | |
| 9 | (Optional) Select the Save printer settings checkbox to save the entered values for future printings. | |
| 10 | Click OK. | The Print Statement Batches window closes, and all eligible statements are printed to your default printer. If you selected Statement Service, all eligible statements are queued in a file and transmitted electronically to your statement service. Click the Preview button to preview the statements. You can use this button to preview the statements without printing and marking the statements as printed in Connect. The preview window will display the printing format if you were to print from Connect. It will not display the Data Media statement format if you use Data Media printing services. |
Not applicable for this topic