Versions Compared
Key
- This line was added.
- This line was removed.
- Formatting was changed.
Use this task to modify the EDC interface for a practice.
Step-By-Step Guide
Step | Instructions | Additional Information | ||||||
|---|---|---|---|---|---|---|---|---|
| 1 | From the EDC Interface Configurations page, select the EDC interface to be modified. | |||||||
| 2 | Click Update. The EDC Interface Configuration: [name]page opens. Update the relevant information via the applicable steps below... | |||||||
| 3 | In the General section, enter the name being given to the EDC interface configuration. | |||||||
| 4 | (Optional) To copy the member number to the subscriber number, check the Copy Member Number to Subscriber Number option. | |||||||
| 5 | In the Batch Cases by section, select the applicable option. This determines if charge batches are auto-created and what cases are included in each charge batch. | |||||||
| 6 | If the EDC file:
|
| ||||||
| 7 | Open the Mapping Element drop down list and select the element to map. |
| ||||||
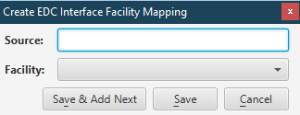
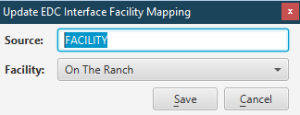
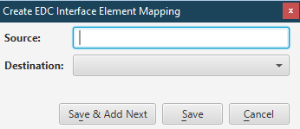
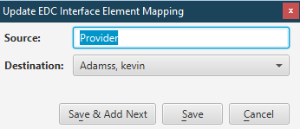
| 8 | To map an element in the Element Mapping section:
|
| ||||||
| 9 | Click Apply. | |||||||
| 10 | Click Save to save the changes and close the page. |
| Panel | ||||||
|---|---|---|---|---|---|---|
| ||||||
EDC Interface Configurations Page EDC Interface Configuration: [name] Page |
| Panel | ||||||||
|---|---|---|---|---|---|---|---|---|
| ||||||||
Not applicable for this topic |
Search this documentation
| Livesearch | ||
|---|---|---|
|


