Complete this task to apply a guarantor payment. You can apply a payment to a new payment batch or add a payment to an existing payment batch.
Step-By-Step Guide
Step | Instructions | Additional Information | ||
|---|---|---|---|---|
| 1 | From the Payment Batch / Payment Batch Information tab, click Create Guar (or press Alt + G). The Payment: New (Guarantor) page opens. | |||
| 2 | If applicable, open the Image Set drop down list and select the image set that contains the images to be attached to this payment. | |||
| 3 | Open the Transaction Type drop down list and select the type of transaction used for this payment, e.g., check, credit card. | |||
| 4 | Enter the method of payment in the Number field. You can specify:
| |||
| 45 | Enter the total amount of the payment in the Amount field. | |||
| 56 | Enter or select the date of the payment in the Date field. | |||
| 67 | Enter the name of the person who issued the check in the Remitter field. | |||
| 78 | Enter or select the date to use as the Accounting Date for the payment. |
| ||
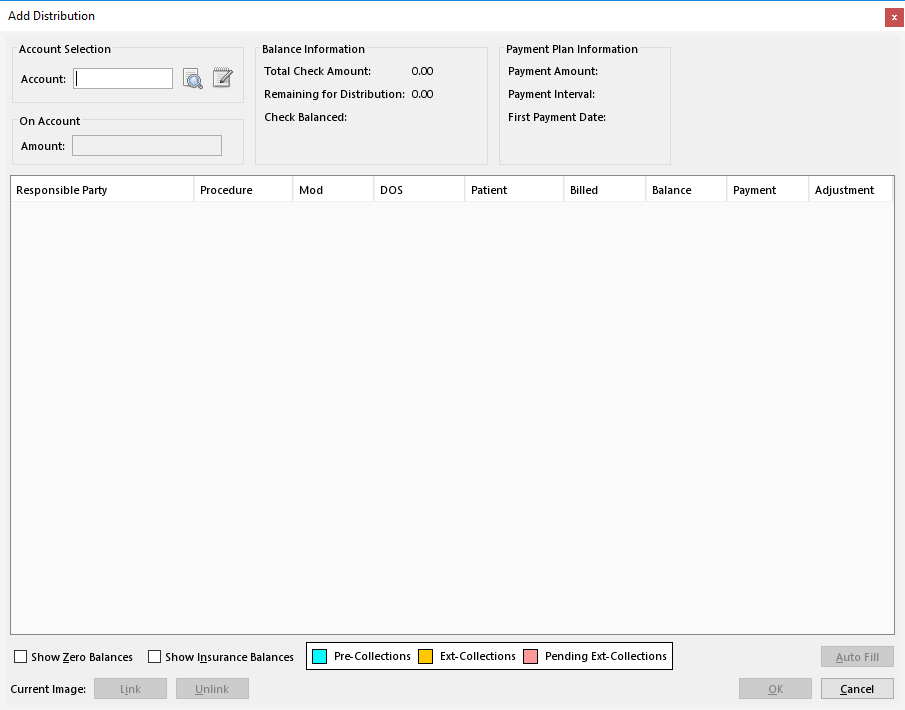
| 89 | (Optional) From the Distributions tab, click Add (or press Alt + D).The Add Distribution window opens.
| |||
| 910 | Use the following tasks distribute the guarantor payment: | |||
| 1011 | When you are finished, click Save (or press Alt + S). |
| Panel | ||||||
|---|---|---|---|---|---|---|
| ||||||
Payment Batch / Payment Batch Information Tab Payment Batch / Image Batches Tab Payment Batch / Import Exceptions Tab Payment (External Collections) Page Applying External Collection Payments Transferring Payments to Suspense Transferring Money to Miscellaneous Income Applying Rescinded Payments (Insurance Payment) Applying Rescinded Payments (External Collections) Adding Service Line Distributions (Insurance Payment) Updating Service Line Distributions (Insurance Payment) Adding Service Line Distributions (Guarantor Payment) Adding On Account Distributions (Guarantor Payment) Adding Service Line Distributions (External Collections) |
| Panel | ||||||||
|---|---|---|---|---|---|---|---|---|
| ||||||||
Not applicable for this topic |
Search this documentation
| Livesearch | ||
|---|---|---|
|