Overview
|

Field Definitions
Field | Type | Required | Description |
|---|---|---|---|
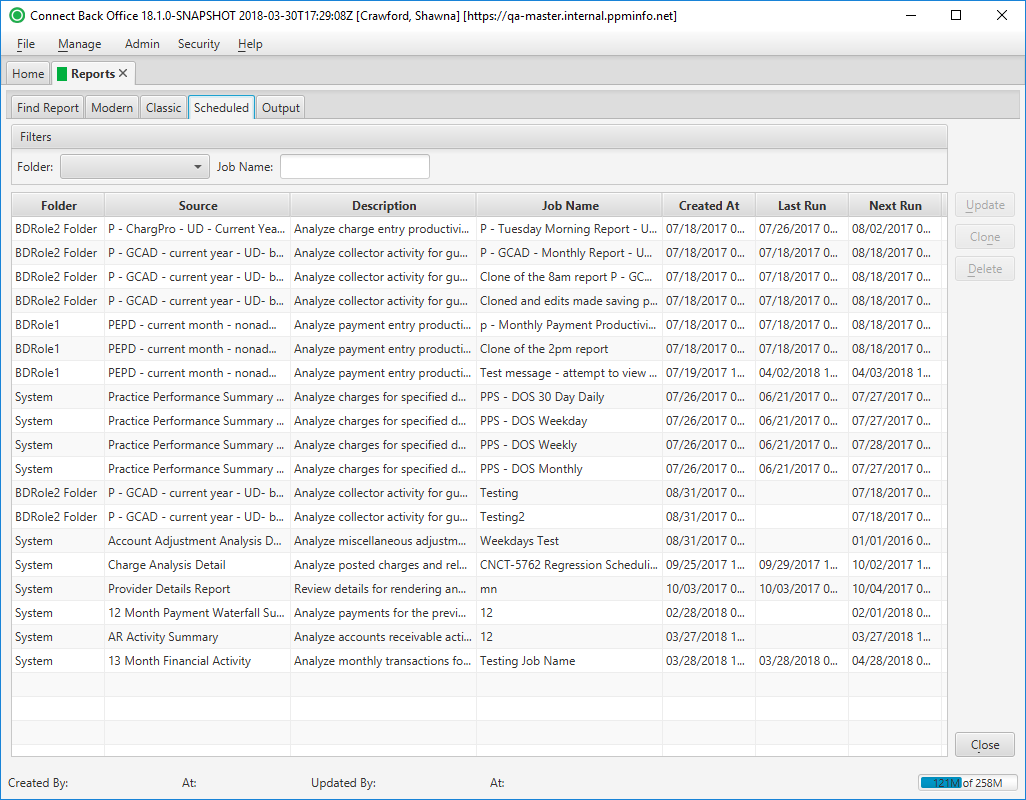
| Filters | Filter | No | Allows the list of scheduled jobs to be filtered by Folder and Job Name. As you type in the Job Name field, the scheduled jobs in the list are filtered to show only those that match what was typed. To restore the list to all scheduled jobs, clear the contents of the filters. |
| Folder | Display Only (pulled from created/updated Scheduled Job) | Yes | The folder location for the saved report. |
| Source | Display Only (pulled from created/updated Scheduled Job) | Yes | The name of the report folders and the reports housed in the folder. |
| Description | Display Only (pulled from created/updated Scheduled Job) | Yes | The high-level description of the report. |
| Job Name | Display Only (pulled from created/updated Scheduled Job) | Yes | Name manually assigned to job by user during creation. |
| Created At | Read-only (system generated) | Yes | The date and time the scheduled job was created. |
| Last Run | Read-only (system generated) | Yes | The last time the scheduled job (report) was run. |
| Next Run | Display Only (pulled from created/updated Scheduled Job) | Yes | The next time the scheduled job (report) will run. |
Button Descriptions
Button | Shortcut Keys | Description | Step-By-Step Guides |
|---|---|---|---|
| Update | [Alt] + [U] | To update the selected scheduled job. |
|
| Clone | [Alt] + [N] | To create a copy of a scheduled job. The newly created job is modified as applicable. |
|
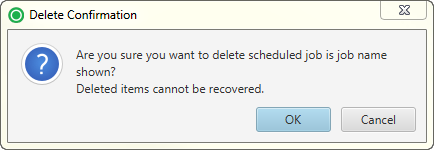
| Delete | [Alt] + [D] | To cancel the selected scheduled job. |
|
