Complete this task to add or modify a service line distribution for an insurance payment. This task is a continuation of the Applying Insurance Payments task and begins at the Distribution: [ID] page.
Step-By-Step Guide
Step | Instructions | Additional Information |
|---|---|---|
| 1 | From the Distribution: [ID] page of an insurance payment, search or enter the Claim ID. All pertinent information on the Distribution: [ID] page is updated with the claim information. | Finding Claims
|
| 2 | (Optional) Open the Payment Rank drop down list and select the appropriate payer from the list. | |
| 3 | (Optional) Enter the identification number of the payment in the Control Number field. | |
| 4 | In the Service Lines table, enter the following for each service line on the claim to which the payment is being applied:
| |
| 5 | Verify the correct party is selected in the Roll To field. If not, open the field drop down list and select the correct option. | |
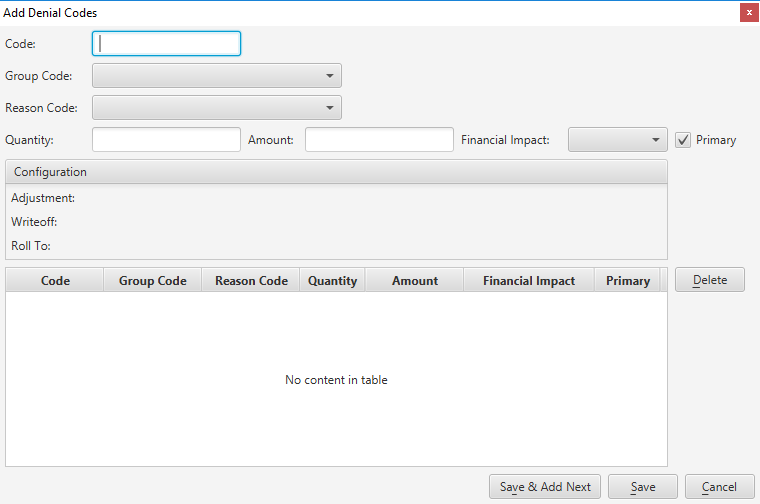
| 6 | To specify a denial from the payer, click the Reason field of the service line and enter the following information on the Add Denial Codes window:
|
To open the Add Denial Codes window without using a mouse, tab to the Reason field, and then press the space bar.
|
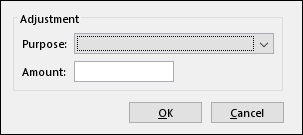
| 7 | To specify a miscellaneous adjustment on the service line, click the Adjust field of the service line and enter the following information in the Adjustment window:
The following criteria is necessary in order to open the Adjustment window:
| |
| 8 | Enter the amount being withheld by the payer in the Whold field, if applicable. | |
| 9 | Enter the paid quantity being applied in the Paid QTY field to record the quantity of units or minutes of an anesthesia procedure that is being paid. | |
| 10 | If the service line had a credit balance on it prior to entering the distribution, the New Balance field will be highlighted in yellow. If the entered distribution results in a service line credit balance, the field will also be highlighted in yellow. | |
| 11 | To force the service line into insurance collections, select the Collections checkbox, if applicable. This checkbox is only visible if the service line is eligible for collections. The service line must have a balance greater than zero, must be in payer responsibility, and must not already be in collections. | |
| 12 | To distribute money to miscellaneous income, click Add in the Misc Income table and complete the Transferring Money to Miscellaneous Income task. | |
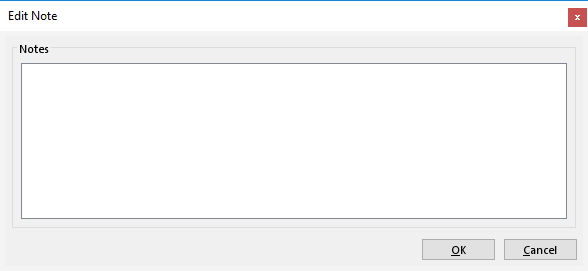
| 13 | To record notes on the service line, select the service line, and then click Edit Notes. The Edit Note window opens.
Complete the following information:
| |
| 14 | Link or unlink an image to the distribution, if applicable. | |
| 15 | If you make a mistake while entering data in a service line, click Clear Line to clear all data entered, then enter the appropriate data. | |
| 16 | When you are finished with the service line, do one of the following:
|
Payment Batch / Payment Batch Information Tab
Payment Batch / Image Batches Tab
Payment Batch / Import Exceptions Tab
Payment (External Collections) Page
Applying External Collections Payments
Transferring Payments to Suspense
Transferring Money to Miscellaneous Income
Applying Rescinded Payments (Insurance Payment)
Applying Rescinded Payments (External Collections)
Updating Service Line Distributions (Insurance Payment)
Adding Service Line Distributions (Guarantor Payment)
Adding On Account Distributions (Guarantor Payment)
Adding Service Line Distributions (External Collections)
Not applicable for this topic