Overview
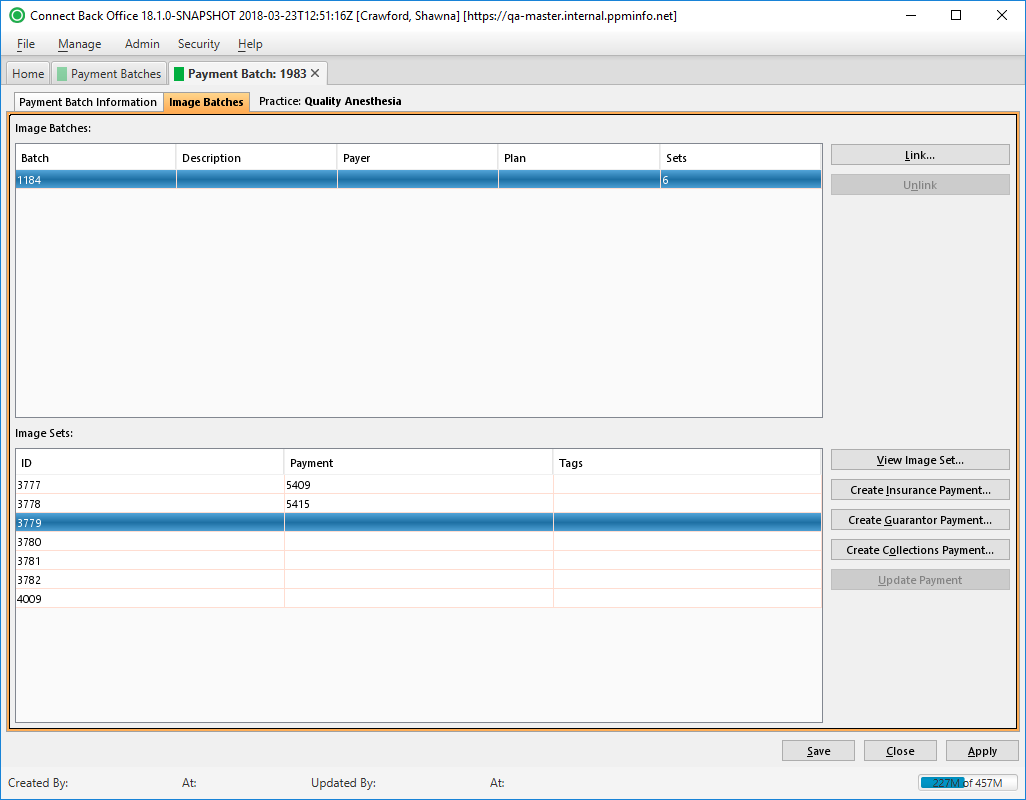
The Payment Batch / Image Batches tab is used to manage image batches for the payment batch.
Field Definitions
Field | Type | Required | Description |
|---|---|---|---|
| Image Batches Section | This section contains a list of image batches created in the Scan Batches tab. | ||
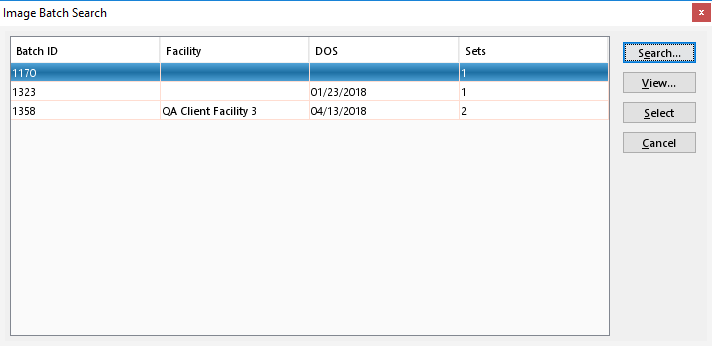
| Batch | Display Only (pulled from the scanned Image Batch) | Yes | The unique identification number of the image batch. This batch identification number is automatically assigned when the image batch is created. |
| Description | Display Only (pulled from the scanned Image Batch) | No | The purpose of the image batch that will be included in the description of the image batch when it is created in Payment Batches. |
| Payer | Display Only (pulled from the scanned Image Batch) | No | The payer from which the payment was remitted for a payment batch. |
| Plan | Display Only (pulled from the scanned Image Batch) | No | The plan from which the payment was remitted for a payment batch. |
| Sets | Display Only (system-calculated) | Yes | The number of image sets in the image batch. Image sets are added to the image batch when the image batch is originally created. You can add image sets to an image batch through the Image Viewer [Batch ID] window if necessary. Each set contains the images related to a particular case or payment. |
| Image Sets Section | This section contains a list of image sets that have been linked from the image batch. | ||
| ID | Display Only (system-generated) | Yes | The unique identification number of the image set. |
| Payment | Display Only (pulled from the scanned Image Batch) | No | The payment (insurance, guarantor, or external collections) to which the set is attached. If the set is not attached to a payment, this column is blank. |
| Tags | Display Only (pulled from the scanned Image Batch) | No | One-word or short-phrase terms assigned to the image set for the purpose of identifying the set easily. |
Button Descriptions
Button | Shortcut Keys | Description | Step-By-Step Guides |
|---|---|---|---|
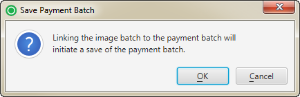
| Link | [Alt] + [L] | To select which set to attach to the payment batch. |
|
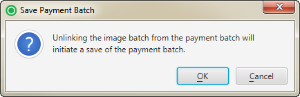
| Unlink | [Alt] + [N] | To remove the linked image sets from the payment batch. |
|
| View Image Set | [Alt] + [V] | To preview images in the image set before creating a payment. |
|
| Create Insurance Payment | [Alt] + [I] | To attach an image set directly to a new insurance payment. | Applying Insurance Payments |
| Create Guarantor Payment | [Alt] + [G] | To attach an image set directly to a new guarantor payment. | Applying Guarantor Payments |
| Create Collections Payment | [Alt] + [O] | To attach an image set directly to a new external collections payment. | Applying External Collections Payments |
| Update Payment | [Alt] + [U] | To modify payment details. | Updating Payments |