Complete this task to rebill the original case and create a new claim for the original case.
When you rebill the claim with fee changes, also referred to as Rebill 1, the original case is reversed and a new case is created from the original case. Fees are recalculated. Full error checking is performed, including concurrency checking. All service lines on the original claim are rebilled. The rebilled case is created in and can be resubmitted from the originating charge batch.
Electronically voided claims need time to be transmitted to the clearinghouse from Connect before the Rebill 1 can be completed on the service line. Doing a Rebill 1 before the claim is transmitted will result in the voided claim being cancelled.
Step-By-Step Guide
| Step | Instructions | Additional Information | ||||||||||
|---|---|---|---|---|---|---|---|---|---|---|---|---|
| 1 | From the Act: [ID] > Active AR tab of the account with the claim to rebill, click the sub-entry of the claim to rebill. | You can click any of the following sub-entries for the SVCFE transaction code:
| ||||||||||
| 2 | Click Rebill. The Rebill Type window opens.
| |||||||||||
| 3 | Select the Reverse Service Fees for a Case and Rebill from a Cloned Case option. | |||||||||||
| 4 | Enter or select the accounting date in the Accounting Date field to use for this transaction. | If your practice is not configured for accounting dates, the Accounting Date option is not available. | ||||||||||
| 5 | (Optional) Select the Reverse all insurance payments to suspense checkbox to reverse any IPYMTS on that service line to suspense. | |||||||||||
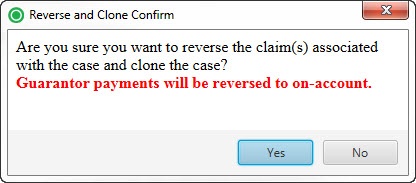
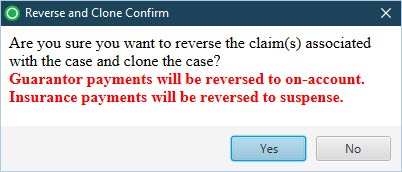
| 6 | Click Next. The confirmation message displays.
| If the Reverse all insurance payments to suspense checkbox is selected in the prior step, the warning message will include a line about the IPYMTS being reversed to suspense.
| ||||||||||
| 7 | Click Yes. The Case: New page appears with a newly created case containing information from the original case. | |||||||||||
| 8 | Modify the pertinent information on the case. | You can modify all information in the case. If adding insurance, mark the new insurance as active.
| ||||||||||
| 9 | After finishing changes, click Save. | |||||||||||
| 10 | Submit the case to generate the new claim or claims on any applicable new service fee lines. | The claim is listed on the appropriate Claims page, either Electronic or Paper. A new claim is generated and the account is updated on the Active AR tab as follows:
|

Act: [ID] / External Collections Tab
Update Person / Person Information Tab
Update Person / Address History Tab
Applying Service Line Adjustments
Rebilling Claims without Fee Changes
Reversing Miscellaneous Adjustments
Reassigning Financial Responsibility
Transferring Service Fee Lines to Internal Collections
Transferring Service Fee Lines to External Collections
Canceling Pre-Collections on Service Fee Lines
Suspending Pre-Collections Eligibility Status on a Specific Service Fee Line
Holding Statements on Specific Service Fee Lines
Generating the Remit Detail Report
Printing the Account AR Activity