Overview
| Panel | |||||||||||||||||
|---|---|---|---|---|---|---|---|---|---|---|---|---|---|---|---|---|---|
| |||||||||||||||||
|
Field Definitions
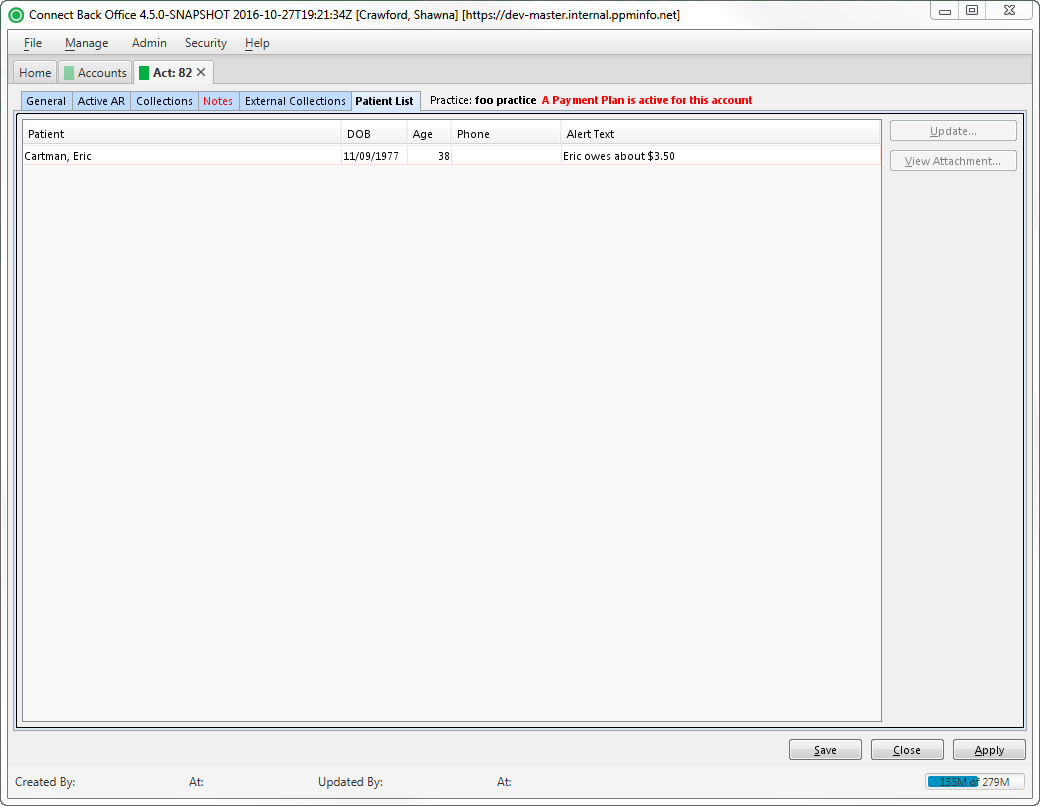
Field | Type | Required | Description |
|---|---|---|---|
| Patient | Display Only (pulled from Case) | Yes | The name of the patient. |
| DOB | Display Only (pulled from Person Information) | Yes | The date of birth of the patient. |
| Age | Display Only (pulled from Person Information) | Yes | The age of the patient. |
| Phone | Display Only (pulled from Person Information) | No | The day phone of the patient. |
| Alert Text | Display Only (pulled from Person Information) | No | The alert text that was entered for the patient on the Person Information tab. This alert text appears in a Message pop-up window whenever the patient or guarantor linked to the patient is selected. For example: Change of address needed. |
Button Descriptions
Button | Shortcut Keys | Description | Step-By-Step Guides | ||
|---|---|---|---|---|---|
| Update | [Alt] + [U] | To update the person record. |
| ||
| View Attachment | [Alt] + [V] | Open the Image Viewer page to display or add an attachment. |
|